

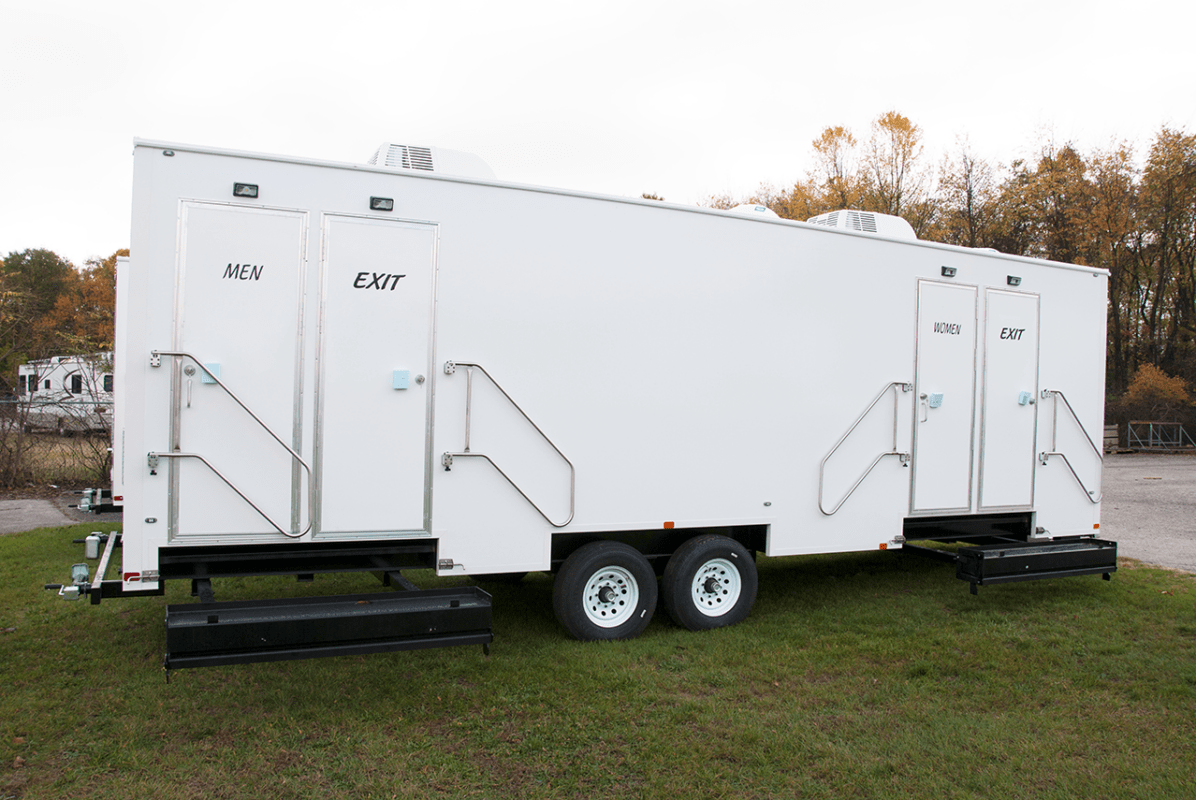
As the temperatures start to drop, it’s time to get your Black Tie Products’ portable restroom and shower trailers ready for the chilly months ahead to keep your trailer in prime condition. Proper winterization ensures that pipes, tanks, and other components are safe from damage caused by freezing water during long-term storage and can save you from costly repairs come spring. Follow these simple steps, and your restroom trailer will be well-equipped to handle a bitterly cold winter.
Drain the Water Systems
Start by draining your trailer’s freshwater tank, water heater, and water pump. This step removes any remaining water from the system, which can freeze and expand, leading to costly repairs.
- Drain Freshwater Tank: Locate and open the drain valve to empty any water.
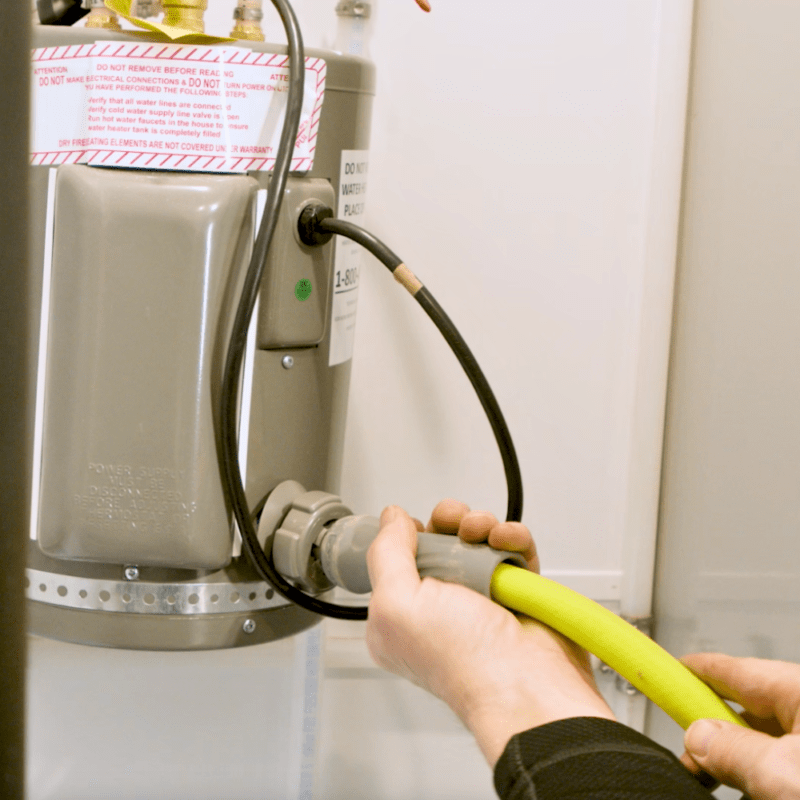
- Drain Water Heater: Drain the water heater using a hose, close both inlet and outlet to isolate the water heater. Do not blow out the water heater of water as some water will remain after draining and is negligible. Open the bypass valve to provide air into the water heater when draining.
- Water Pump: Run the water pump until it’s empty, then turn it off to prevent overheating.
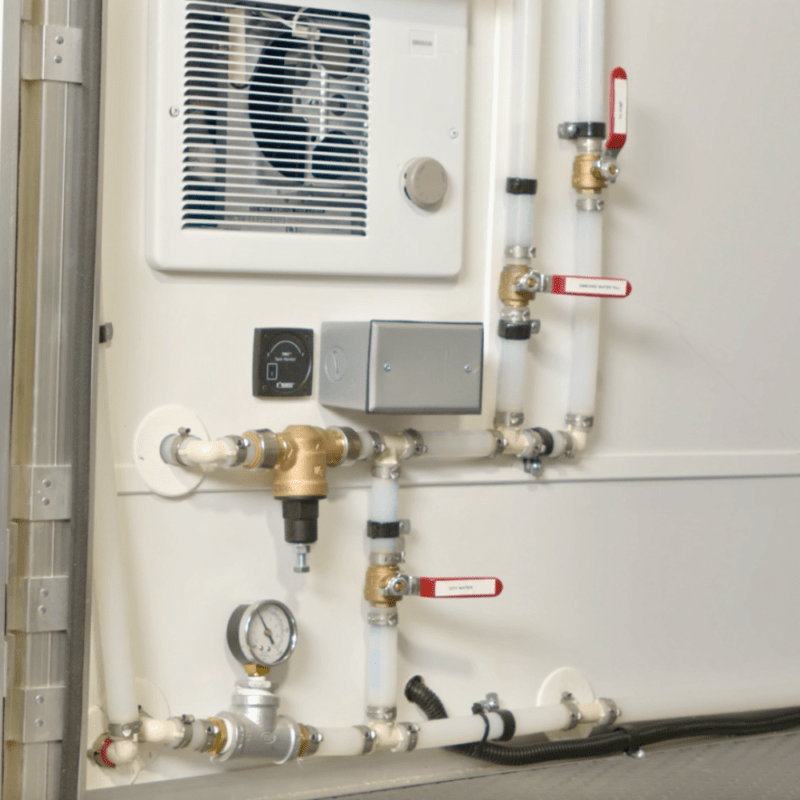
Clear the Water Lines with Compressed Air
Using compressed air is effective and minimizes the amount of antifreeze needed.
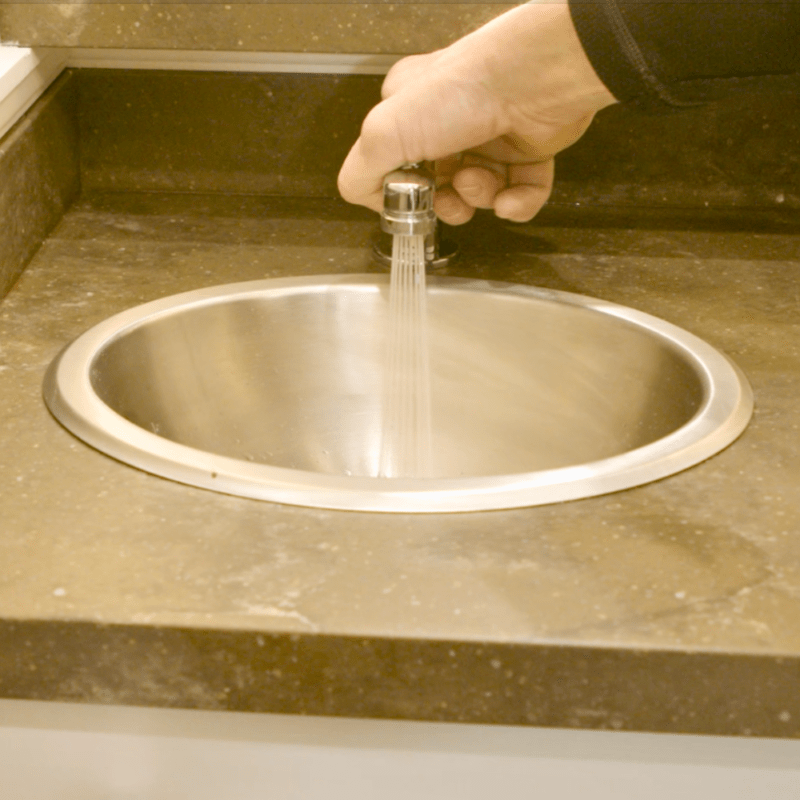
- Toilets and Urinals: Flush each toilet until only air flows, this will reduce the amount of antifreeze required.
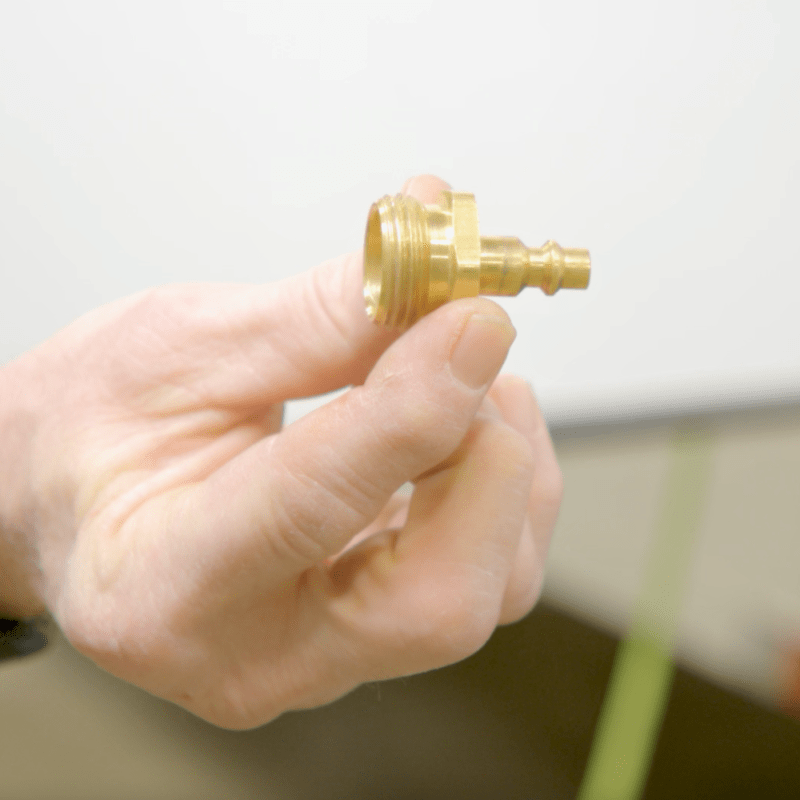
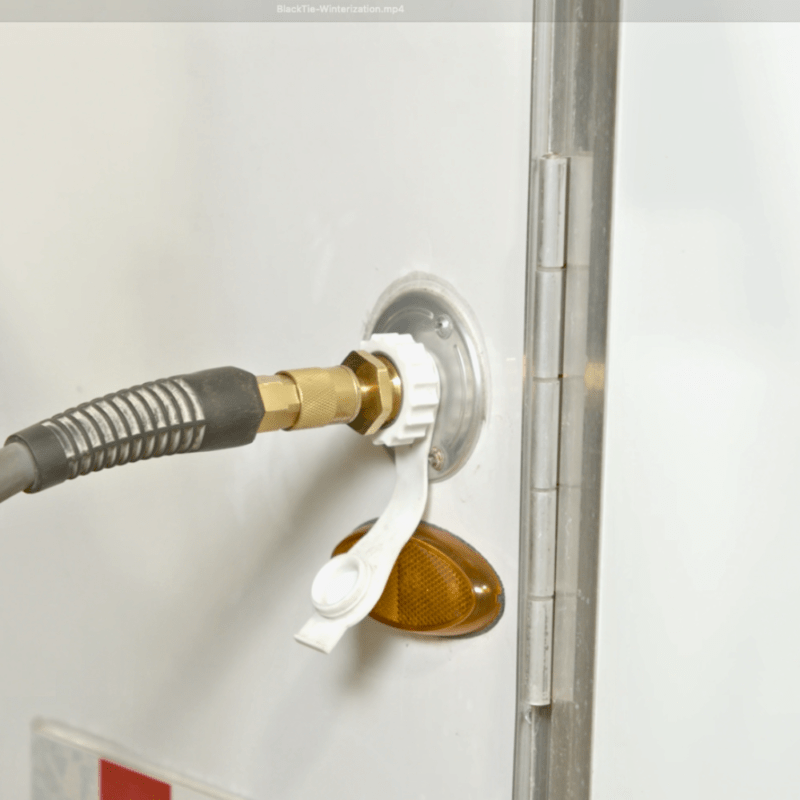
- Connect the Air Compressor: Attach an air compressor to the water intake valve with the threaded hose fitting.
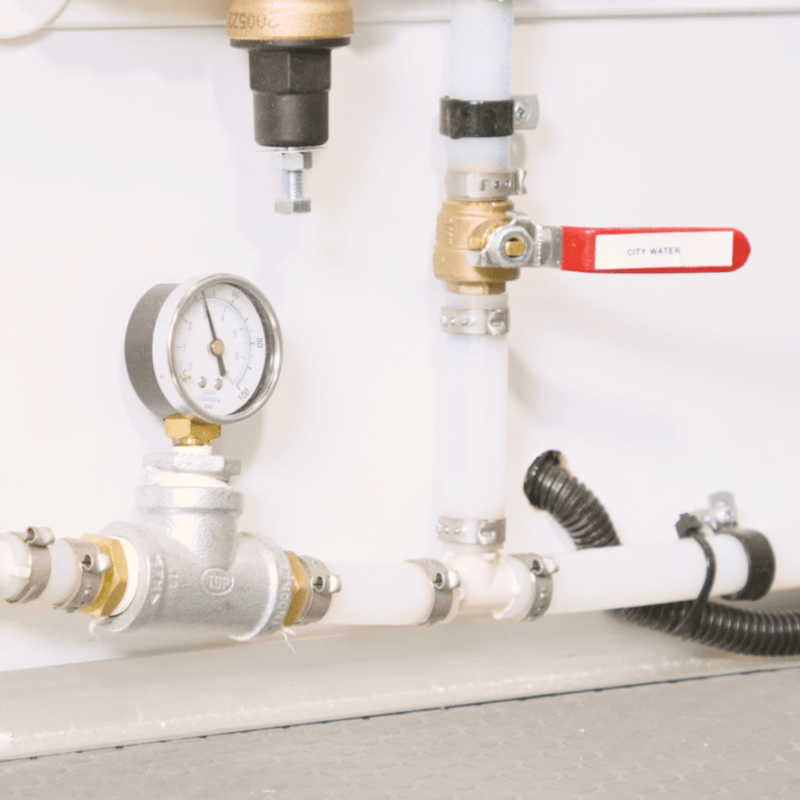
- Clear the Lines: Open the freshwater tank’s fill valve, turn on the compressor, and blow air through the line until it’s clear. Repeat this for the City Water Valve.
- Open Fixtures: With the compressor on, open each fixture (sinks, toilets, urinals) one at a time, starting with the fixture farthest from the air supply, to ensure all water is removed and only air flows through the line.
Using RV Antifreeze for Extra Protection
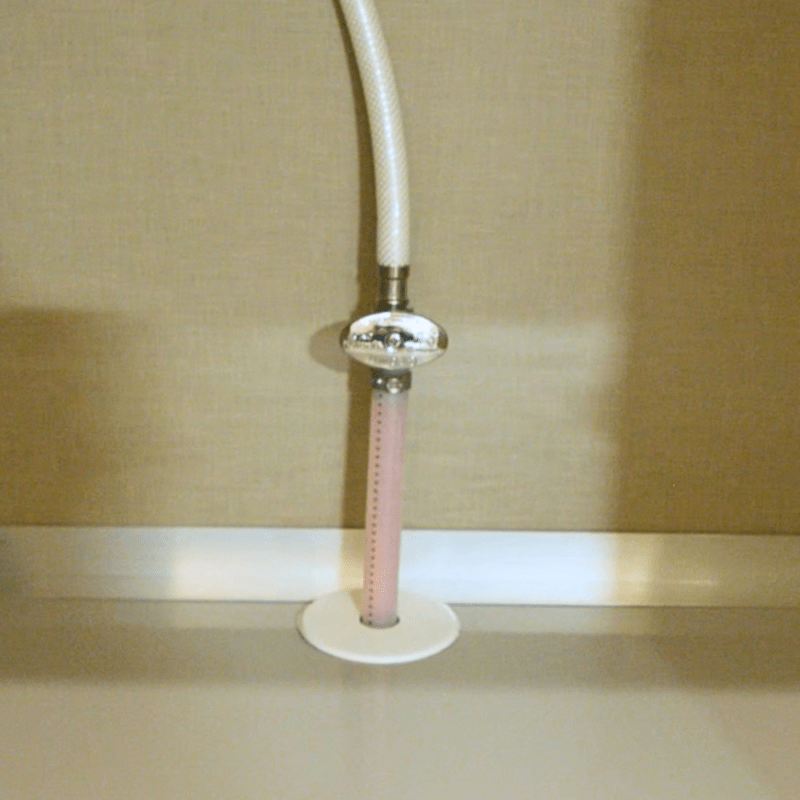
RV antifreeze is specifically designed for winterizing trailers and won’t harm your system. We attached a 12-volt pump with battery to power the pump.
- Bypass the Water Heater: If your trailer has a water heater, use the bypass valve to prevent antifreeze from entering.
- Connect Antifreeze to Water Pump: Attach a clear antifreeze supply hose to the water pump intake, then place the hose in RV antifreeze.
- Pump Antifreeze Through System: Turn on the pump and open each fixture one at a time, starting with the furthest, until antifreeze runs through. Be sure to also open the City Water Valve and any external shut-off valves.
Final Checks
After winterizing, inspect all valves and fixtures for any remaining water or areas where antifreeze didn’t reach.
- Check that the P-Traps contain antifreeze to prevent freezing.
- Secure your trailer in a dry, sheltered location to protect against freezing conditions and ensure a smooth start to the next season.
Winterizing your Black Tie restroom and shower trailer protects your investment and prevents unnecessary maintenance come spring! Check out our ‘Getting to know your trailer’ page for visual walk-through guides covering winterization, setup, stabilization, and waste tank cleaning.
With a dedication to excellence, superior craftsmanship, and exceptional customer service, Black Tie Products is your trusted partner for all your portable restroom needs. Contact us today to discover how we can elevate your next event with our luxury restroom trailers.